


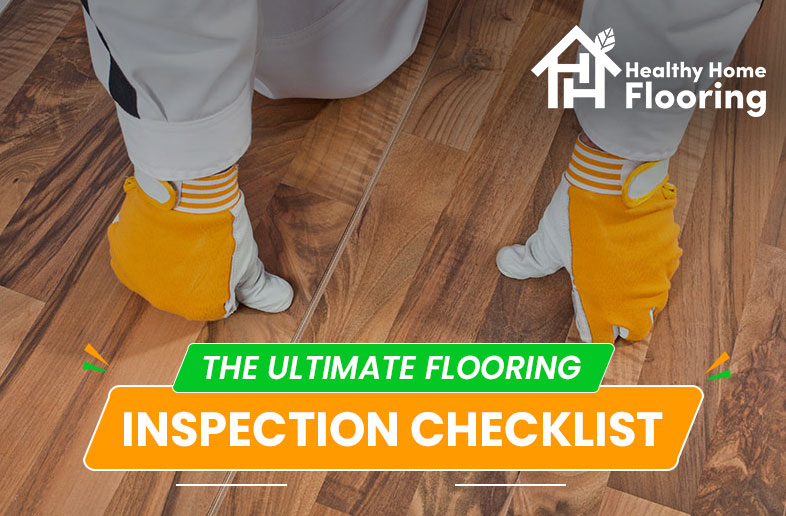
How do you know when flooring needs replacing? While your own flooring might look OK from a distance, a closer inspection might reveal the ugly truth. Your flooring may even be a trip or slip hazard.
Not all flooring problems are due to wear and tear, though in some cases, inferior materials are to blame. Substandard workmanship can also lead to the premature demise of flooring.
Whatever the cause, you need to know whether or not your flooring is fit for purpose. We’ve put together a flooring inspection checklist — covering all of the main types of flooring on the market today. Use it to assess the situation in your own home. Or if you want experienced specialists to take a look, book a no-obligation visit from one of the experts at Healthy Home Flooring.
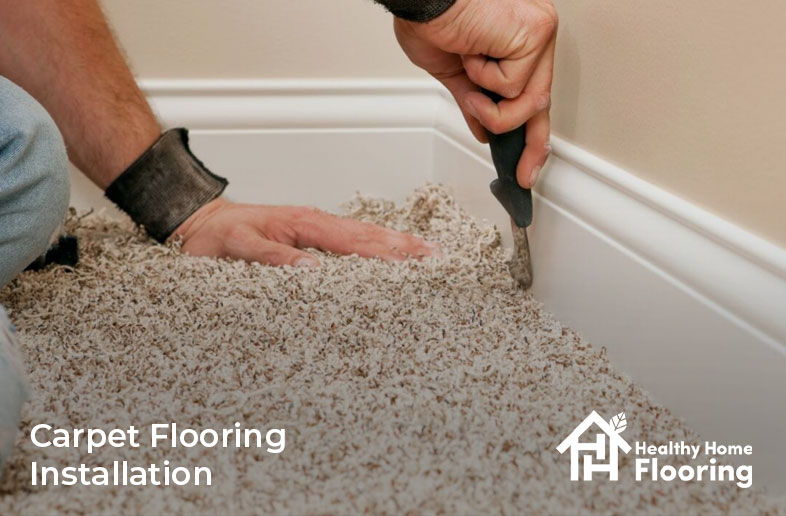
# Carpet Flooring
Whether you’re getting a new carpet fitted or assessing the state of an existing one, you need to know what to look for. Issues with quality or fitting don’t just create cosmetic problems, they create safety problems too.
If you’ve paid professionals to lay your carpet, you obviously want to know that you’re getting value for money. And if you’re considering purchasing a new carpet, it’s good to know whether the expense is necessary. Here are a few issues to look out for.
1. Check Your Order
If you’re checking a new carpet, the first thing to do is check that the make, variety and color match your order. For this reason, make sure you’re at home when the carpet is delivered. You’re entitled to the exact carpet you ordered.
2. Check the Carpet is Stretched
A well-fitted carpet should look like it’s molded to the floor. There should never be any bubbles, lumps or bumps. Professional fitters use power stretching equipment to ensure the perfect finish. If you notice any imperfections, either inform your carpet fitters or consider a replacement.
3. Check the Seams
A well-fitted carpet should fit snugly against all walls, baseboards and transitions. Walk the room, and check that all the seams and edges are tight, clean and flat. Also, make sure there are no gaps around the perimeter. If your carpet is a few years old, gaps could be a sign that your carpet has shrunk.
4. Check Transitions
If you have transitions, check that they’re tight, flat and properly finished. Also, check that any divider strips used are in place and not loose.
5. Check Doors and Other Fixed Items
If you’re having a new carpet fitted, it may be necessary to remove certain objects. If doors, radiators or other items were removed, check that they’ve been replaced properly. Also, check that your carpet is fitted tightly and neatly in these areas. In the case of doors, check that they open and close freely.
6. Check Scraps Have Been Picked Up
Reliable and professional carpet cleaners will always clean up after themselves. Before your fitters leave, check that all the little bits and cuttings have been removed.
7. Check You Have an Installation Warranty
If you’ve hired experts to fit your carpet, they should provide you with an installation warranty. This should cover any work that’s needed in order to rectify mistakes and defects.
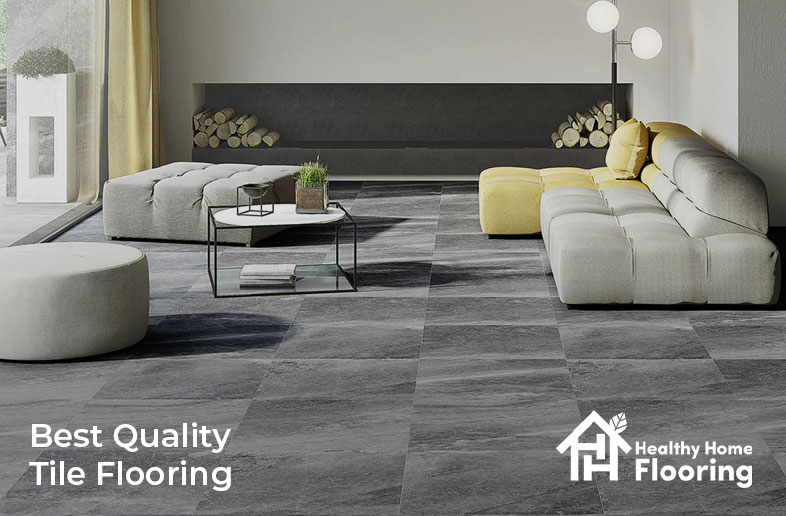
# Tile Flooring
Whether you’re assessing an existing tile floor or verifying the work of fitters, you need to know what you’re looking for. Here are a few potential issues to look out for.
1. Check the Delivery
It’s always a good idea to be at home when the delivery of tiles arrives. Count the packs to ensure nothing has been left in the warehouse or on the vehicle. Check the product names and codes against your order confirmation. Some tiles look very similar to others, so picking errors in warehouses are common.
2. Check for Loose Tiles
Once your floor is in place, walk over it to look for loose tiles — they may not appear loose to the naked eye. A loose tile might move or make a grinding noise when pressure is exerted on it.
There are several reasons why floor tiles might come loose. In some cases, atmospheric conditions weaken the adhesive underneath. Movements in the floor itself might also contribute to the loosening of tiles. If you’re inspecting a ceramic tile floor, bear in mind that hot, humid conditions can cause them to expand over time.
3. Check for Cracked Tiles
Again, cracks may not always be immediately visible to the naked eye — especially if you have slate, marble or patterned tiles. This means you have to get down on the floor to inspect each tile individually.
One of the reasons for cracked tiles is poor workmanship during installation. The subfloor must be installed correctly from the outset, otherwise may become uneven. If you’re inspecting an existing floor, replace the problem tiles as quickly as possible. However, you might need to ask a flooring specialist to investigate the root cause first.
4. Check for Cracked or Missing Grouting
The grouting that binds your floor together should be smooth and even. Holes, gaps, cracks and untreated areas could lead to premature tile damage. These areas can allow water into your
floor — causing widespread damage.
5. Check the General Standard of Workmanship
A well-fitted tile floor always looks clean, uniform, flat and stable. Tile spacing should be perfect, and grouting should be smooth. Pay special attention to areas by baseboards and around objects. Cutting tiles to perfection is tricky, and even the smallest of mistakes can ruin a floor’s look.
6. Check the Floor is Flat
Before a tile is laid, work should be done to ensure the floor underneath is perfectly flat. If it isn’t, tiles can get damaged prematurely. A tell-tale sign of an uneven floor is pooling. If you notice pools of water after washing the floor, there may be uneven areas.
Tip: Check your tile floor is even with a spirit level app on your smartphone.
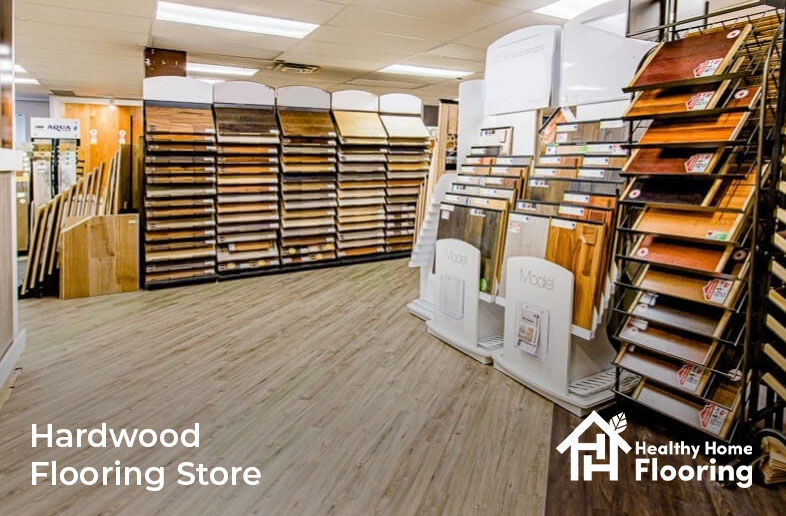
# Hardwood Flooring
Nothing matches the luxury and natural warmth of hardwood flooring. It delivers the perfect combination of elegance and practicality. But most hardwoods are expensive and relatively fragile. If you already have one, you should inspect it regularly and take the necessary preventative maintenance steps.
1. Check for Cupping
Cupping is a problem that affects both real and engineered wood. It happens when the sides of the flooring are higher than the center of the boards — creating a concave shape. This can cause pools of water to form, increasing the risk of water damage.
2. Check for Gaps
Gaps — either between boards or next to walls — can cause serious problems. Moisture can sneak into the tiniest of gaps can cause widespread damage if the gaps aren’t made good.
Gaps occur for several reasons. Sometimes, it’s down to poor workmanship. It may also be caused by inferior materials. It’s also worth remembering that heat and humidity can cause wood to expand. Cooler, drier conditions cause the wood to contract. Over time, this process can lead to gapping.
3. Check for Splitting
Splitting can occur in hardwoods that have dried out over time. While there are some repair methods, the most cost-effective way to deal with widespread splitting is to order a replacement floor.
4. Check for Crowning
Think of crowning as the opposite of cupping. Instead of concave wood planks, you’re left with convex ones (the center of the plank is higher than the edges).
5. Check for Poor Finishing
Professional flooring fitters take a huge amount of pride in their work. While this often means the job takes a little longer, it’s done to very high standards. You can tell if contractors have rushed the job, as the signs are usually pretty obvious. Shortcuts save floor fitters time, but they result in substandard work.
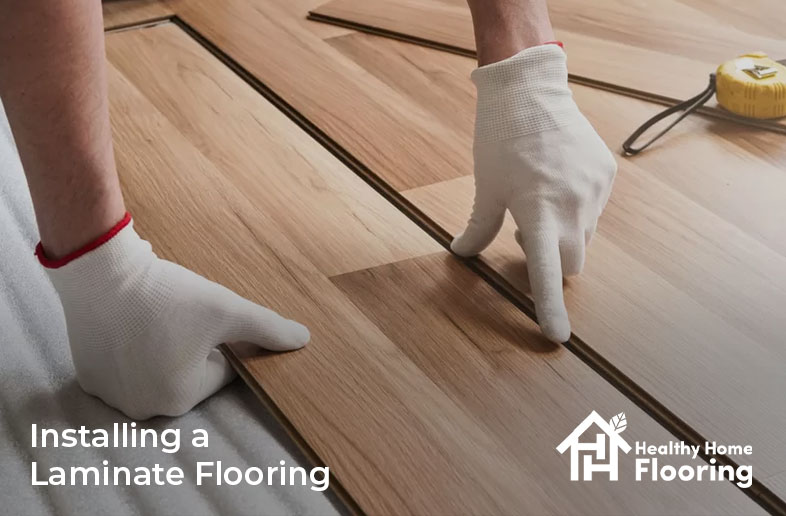
# Laminate Flooring
Laminate flooring is a tough, practical and relatively cheap alternative to hardwood. Embossed laminate looks almost identical, but it can be a fraction of the price. Nevertheless, laminate flooring isn’t without potential problems.
1. Check for Gapping
Poor quality laminate or bad workmanship can lead to gaps between planks and by walls and doors. But in some cases, atmospheric conditions are to blame. Gapping can lead to serious, irreversible damage — as well as trips and falls. The issue should be dealt with by flooring contractors as quickly as possible.
2. Check for Peaking
Peaking is a common problem that occurs when individual planks expand and push up against each other at the joints. This often happens when the original fitters don’t leave enough space for expansion.
3. Check for Mold
Badly-fitted laminate flooring is highly susceptible to mold. This is because gaps and cracks allow moisture to find its way under the flooring — where the airflow is non-existent. The first sign of mold under laminate is usually a bad odor. You might need to remove a few panels to check.
4. Check for a “Soft Floor”
Laminate consists of a sublayer, which consists of wood chippings and various other substances. When this sublayer gets wet, it softens and swells. Over time, it can eventually fall apart. Laminate affected by this problem might be raised or loose.
5. Check for Buckling
Laminate can buckle for a number of reasons. One of the most common is excessive, incessant humidity. Other reasons include excess surface water and moisture coming up from the floor beneath. Flooring experts may install an extra sublayer underneath your laminate in order to address this problem.
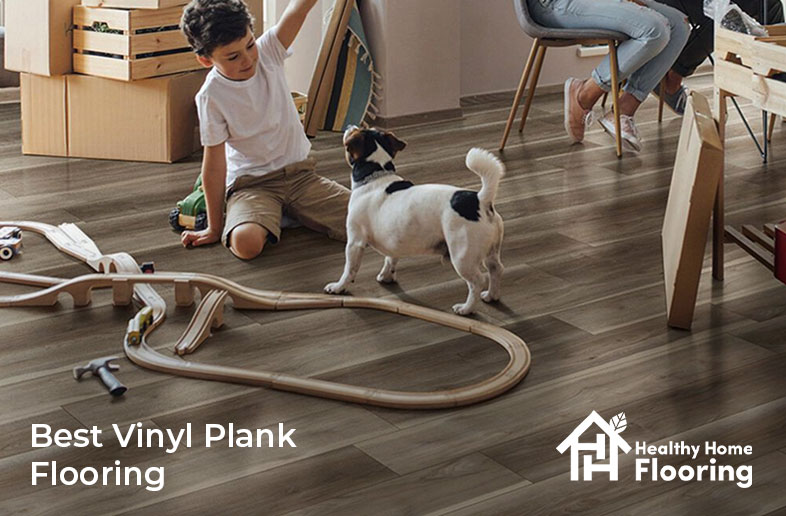
# Vinyl Flooring
Vinyl flooring should cling to a floor in the same way carpet should. It should be flat, uncreased and fitted tightly to walls, baseboards and other fixed objects. A lot of vinyl is manufactured to look like tile or wood. This means that even the slightest of imperfections can ruin the entire aesthetic.
1. Check for Scratches and Scrapes
Most vinyl flooring is very resilient to everyday footfall. But scratches and scrapes can occur when heavy furniture is dragged across the surface. This might happen during installation, or during the course of the floor’s lifetime. A large scratch can allow moisture into the vinyl, causing it to warp over time. While there are vinyl repair specialists around, the cost-effective option is usually a full replacement.
2. Check for Loose Seams
This is one of the most common problems found in vinyl flooring — and it’s usually an issue with either the fitting or atmospheric conditions. Depending on the type of floor underneath, professional fitters might decide to fit a sublayer first. This step, in some cases, makes loose seams far less likely. However, isolated cases can often be rectified with the application of some adhesive.
3. Check for Stains and Discoloration
Vinyl is usually very easy to keep clean, but it’s not immune from stains and discoloration. Substances such as ink and paint are sometimes impossible to remove fully. However, even the thickest of grease stains can be removed with the right cleaning agent. Discoloration is often permanent, though. And it’s usually down to prolonged exposure to natural sunlight.
# Useful Resources for Inspecting Flooring
We’ve collated a few resources that should help you to inspect your floors at home. But if you want professional advice, the experts at Healthy Home Flooring are ready to help.
- A guide to hardwood flooring
- A guide to tile flooring
- A guide to carpet flooring
- A guide to stone flooring
- A guide to laminate flooring
- Inspecting laminate
- Problems with vinyl flooring
- Hardwood flooring problems
A well-fitted floor made with quality materials should deliver many years of faithful service. But regular cleaning and preventative maintenance are essential. By inspecting your floors regularly, you can identify problems before they become irreversible.
Or
If you want flooring inspection advice from the experts, contact Healthy Home Flooring — Arizona’s leading floor specialist.